How to Replace Glass in an RB73 Stove

Why You Might Need to Replace Your Stove Glass

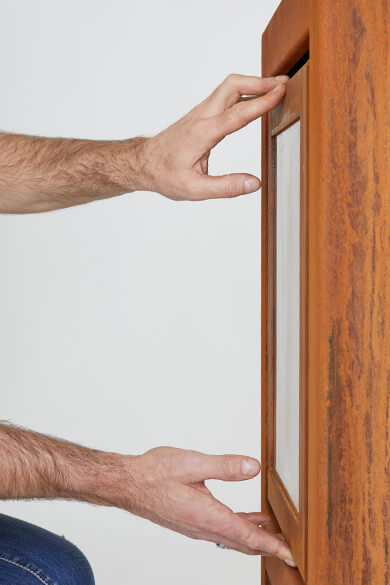
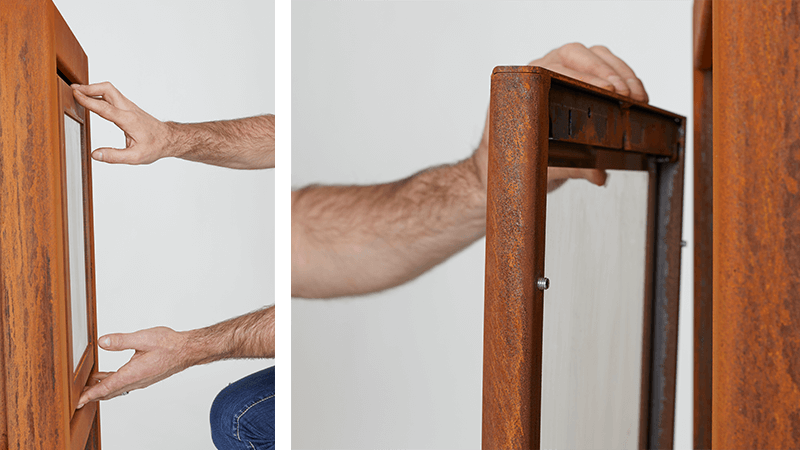
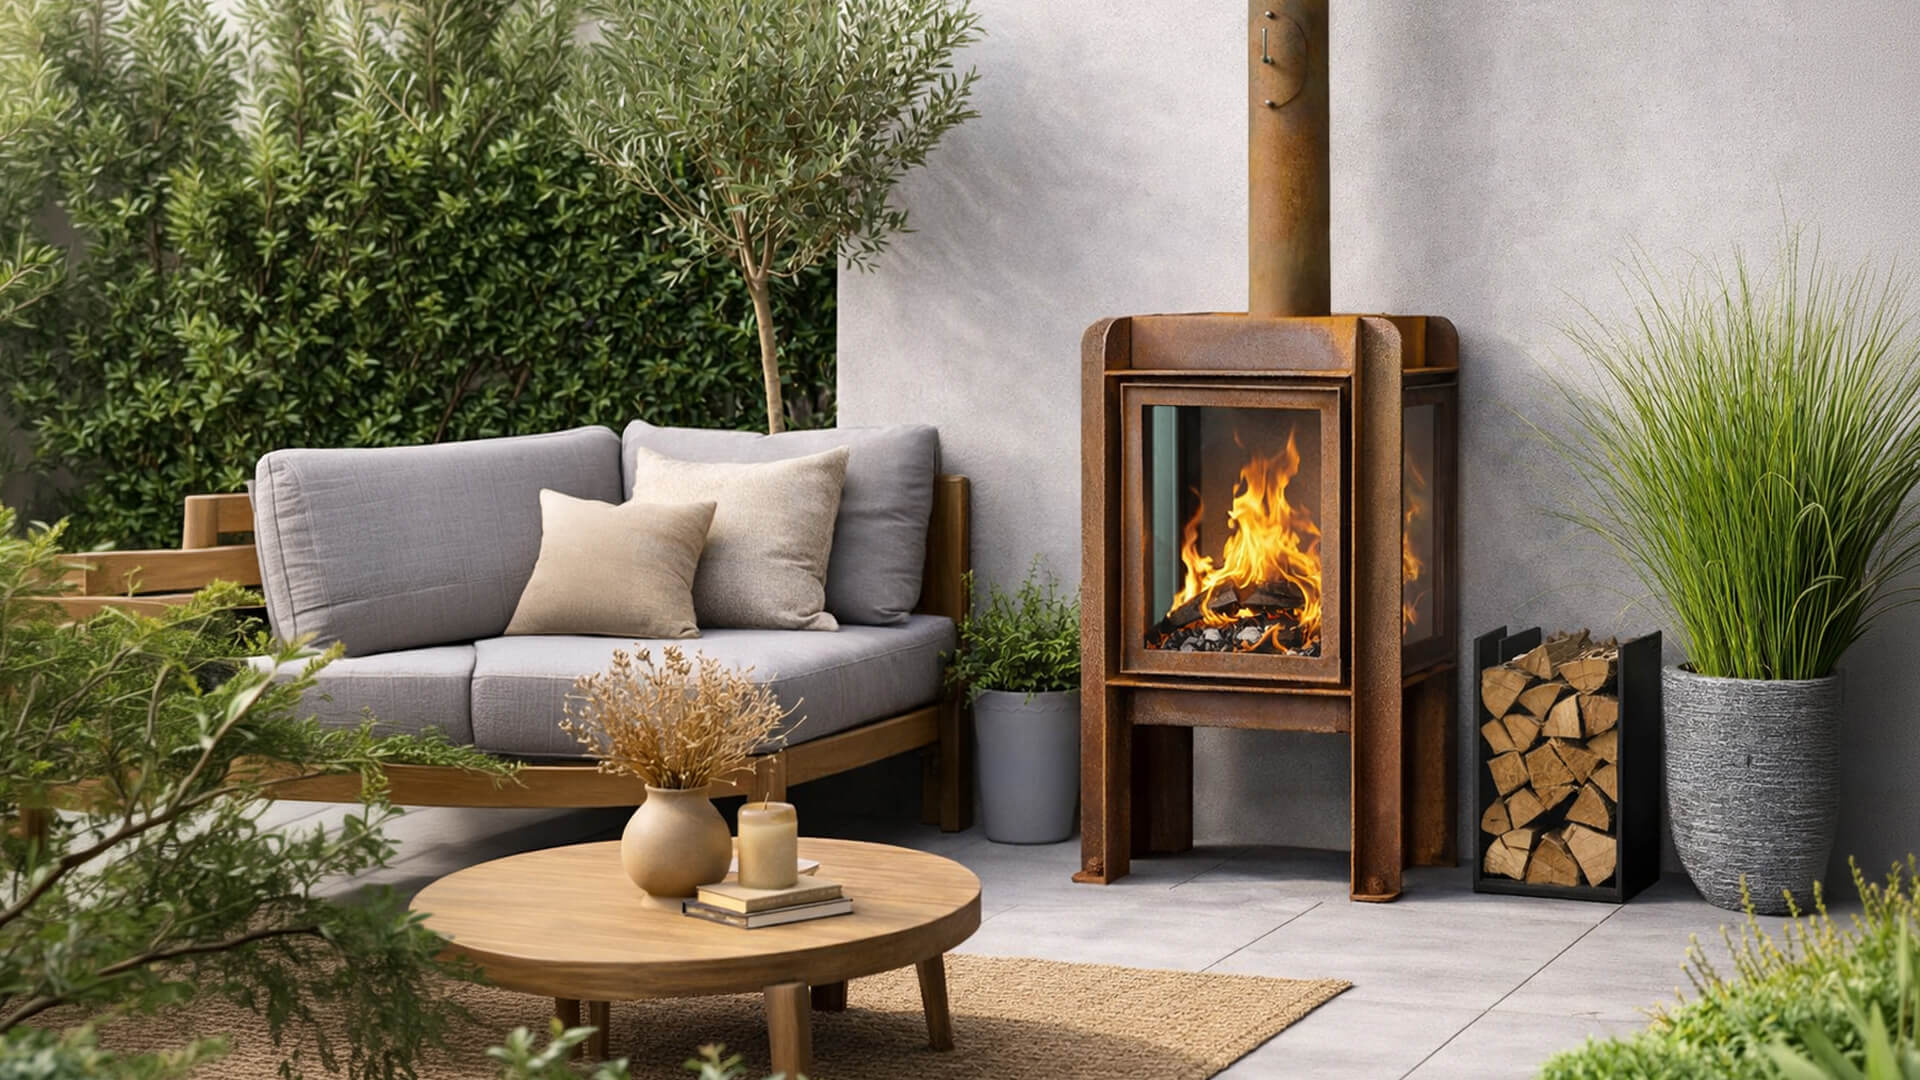
RB73 outdoor fires use large ceramic glass panels to create that clean, enclosed flame.

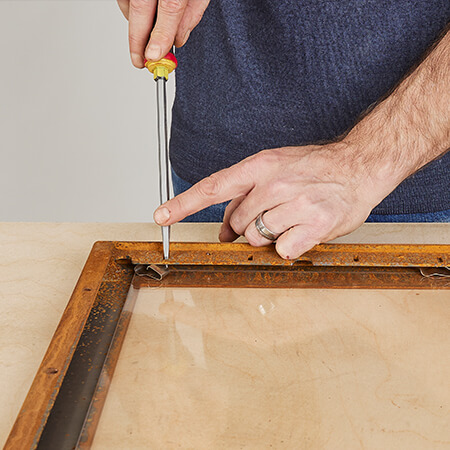
Across models like the Quaruba, Fennek, Quercus, Piquia, and Bijuga, glass can be replaced if it becomes cracked, chipped, or damaged through use or handling.

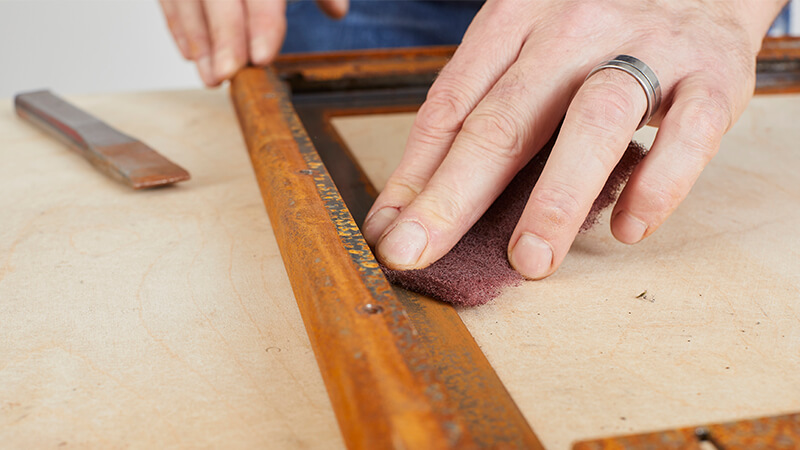
Once damaged, it’s not repairable—replacement is the only option.

Before You Start: Know Your Glass Type

There are two types of glass replacement on RB73 models:

1. Door Glass (All Models)

  • Held in place with bent metal clips
  • Clips pop in and out (no screws, no tightening)
  • Applies to:
    • Piquia
    • Bijuga
    • Quaruba (door)
    • Fennek (door)
    • Quercus (door)

2. Side & Rear Panels (Model Dependent)

Fennek & Quercus

  • Panels lift out vertically
  • On older models, may need gentle prying to release


Quaruba

  • Panels are secured with Allen key bolts
  • Bolts must be removed before the panel can be taken off
  • Once removed, replacement follows the same process as other panels

Tools & Parts You’ll Need

  • Replacement RB73 ceramic glass (correct model & panel)
  • Flathead screwdriver (for clips)
  • Allen key (Quaruba panels only)
  • Pry tool (if needed for older Fennek/Quercus panels)
  • Wire brush or scraper
  • Gloves
  • Cloth


Important:
Only use ceramic stove glass—anything else won’t survive the heat.

Replacing glass in an RB73 stove depends on the model and location: door glass is removed using pop-out clips, while side and rear panels (on certain models) lift out or are unbolted first. In all cases, the new glass must sit perfectly flat with no wobble—there are no rope seals or tightening involved.

Step-by-Step: Replacing Door Glass

(This applies to all RB73 models)


Step 1: Let the Stove Cool Completely

No shortcuts here—make sure it’s fully cold.

Step 2: Remove the Door

  • Lift the door off its hinges, beware of the brass washers on the door pins that may fall off when lifting the door up
  • Lay it flat on a protected surface

Step 3: Pop Out the Retaining Clips

  • Use a screwdriver if needed
  • Gently remove each clip

Step 4: Remove the Old Glass

  • Lift it out carefully
  • Watch for sharp edges if cracked


Step 5: Clean the Frame

This is where most failures start if skipped.

  • Remove ash and debris
  • Clean the seating area thoroughly
  • Ensure the surface is flat and even


Critical Rule: Glass Must Sit Flat

The glass must sit completely flat. There must be no wobble or rocking

If it doesn’t sit flat, it will crack under heat. No exceptions.

Step 6: Install the New Glass

  • Place it gently into position
  • Centre it properly
  • Check for movement

Step 7: Refit the Clips

  • Push clips back into place
  • Ensure they hold the glass securely

No tightening needed—the clips do the job.


Step 8: Reinstall the Door

  • Ensure the brass washers are on the pins first (they may still be attached to the door)
  • Place back onto hinges
  • Check alignment


Extra Maintenance Suggestion

Whilst your door is off, it might be worth adding some more copper grease from the supplied tube to the hinge to keep the door moving freely. We recommended doing this atleast once per year.

Most broken panels aren’t caused by heat—they’re caused by logs. Stack too high, one shifts, and that’s all it takes. Heat-resistant glass is designed to last for years—if it’s failing, it’s usually impact, not temperature.

Step-by-Step: Replacing Side or Rear Glass Panels

Fennek & Quercus

Step 1: Lift Out the Panel

  • Panels are designed to lift upwards and out
  • If stuck (especially on older fires), use a tool to gently pry it loose


Step 2: Clean the Seating Area

  • Remove debris and buildup
  • Ensure a clean, level surface


Step 3: Install the New Panel

  • Lower the glass into place
  • Ensure it sits flat and evenly supported

Critical Mistakes to Avoid

Glass Not Sitting Flat

The biggest cause of breakage – if it rocks, it breaks.


Forcing Panels Out

If a panel won’t lift easily, don’t brute-force it—use controlled leverage.


Dirt or Debris Under the Glass

Even a small buildup can create a pressure point and cause cracking.


Using the Wrong Glass

Only ceramic stove glass is suitable—anything else won’t last.

Quaruba Panels (Different Fixing System)

Step 1: Remove the Allen Bolts

  • Locate and remove fixing bolts using an Allen key
  • Carefully remove the panel


Step 2: Clean the Frame

Same as all other models—clean and level is key


Step 3: Install New Glass

  • Position the panel correctly
  • Ensure it sits flat with no movement


Step 4: Refit the Panel

  • Reinstall bolts securely (but don’t over-force)

Pro Tip: The 30-Second Check

Before finishing, press gently on each corner of the glass:

  • No movement = good
  • Any rocking = fix it now


This quick check saves you replacing it again later.


Final Thought

RB73 fires are built to last decades—but glass only lasts if it’s installed correctly.

Take your time, seat it properly, and you won’t have to think about it again for years.

Rush it… and you’ll be doing this job twice.

Related Posts

How Do Logstores Keep Firewood Dry?

A well-designed logstore keeps firewood dry by allowing constant airflow while protecting it from direct rain. Raised bases, slatted sides, and angled roofs work together to let moisture escape and prevent water from soaking in.

Read More
0